Chanukah is just around the corner, literally. This year it starts very early! Princess Peach is learning all about Chanukah at school which is so cute. She is singing the songs and learning all about what is associated with the holiday. One of those items is a Menorah which is lit every night for 8 nights. Princess Peach loves candles especially on a cake. I’m sure she will want to help light the menorah with me each night but her being near fire freaks me out! I’ve created a special magnetic menorah to put on our fridge that she can “light” each night. Here are the easy steps so you and your kids can make your own!
What you need:
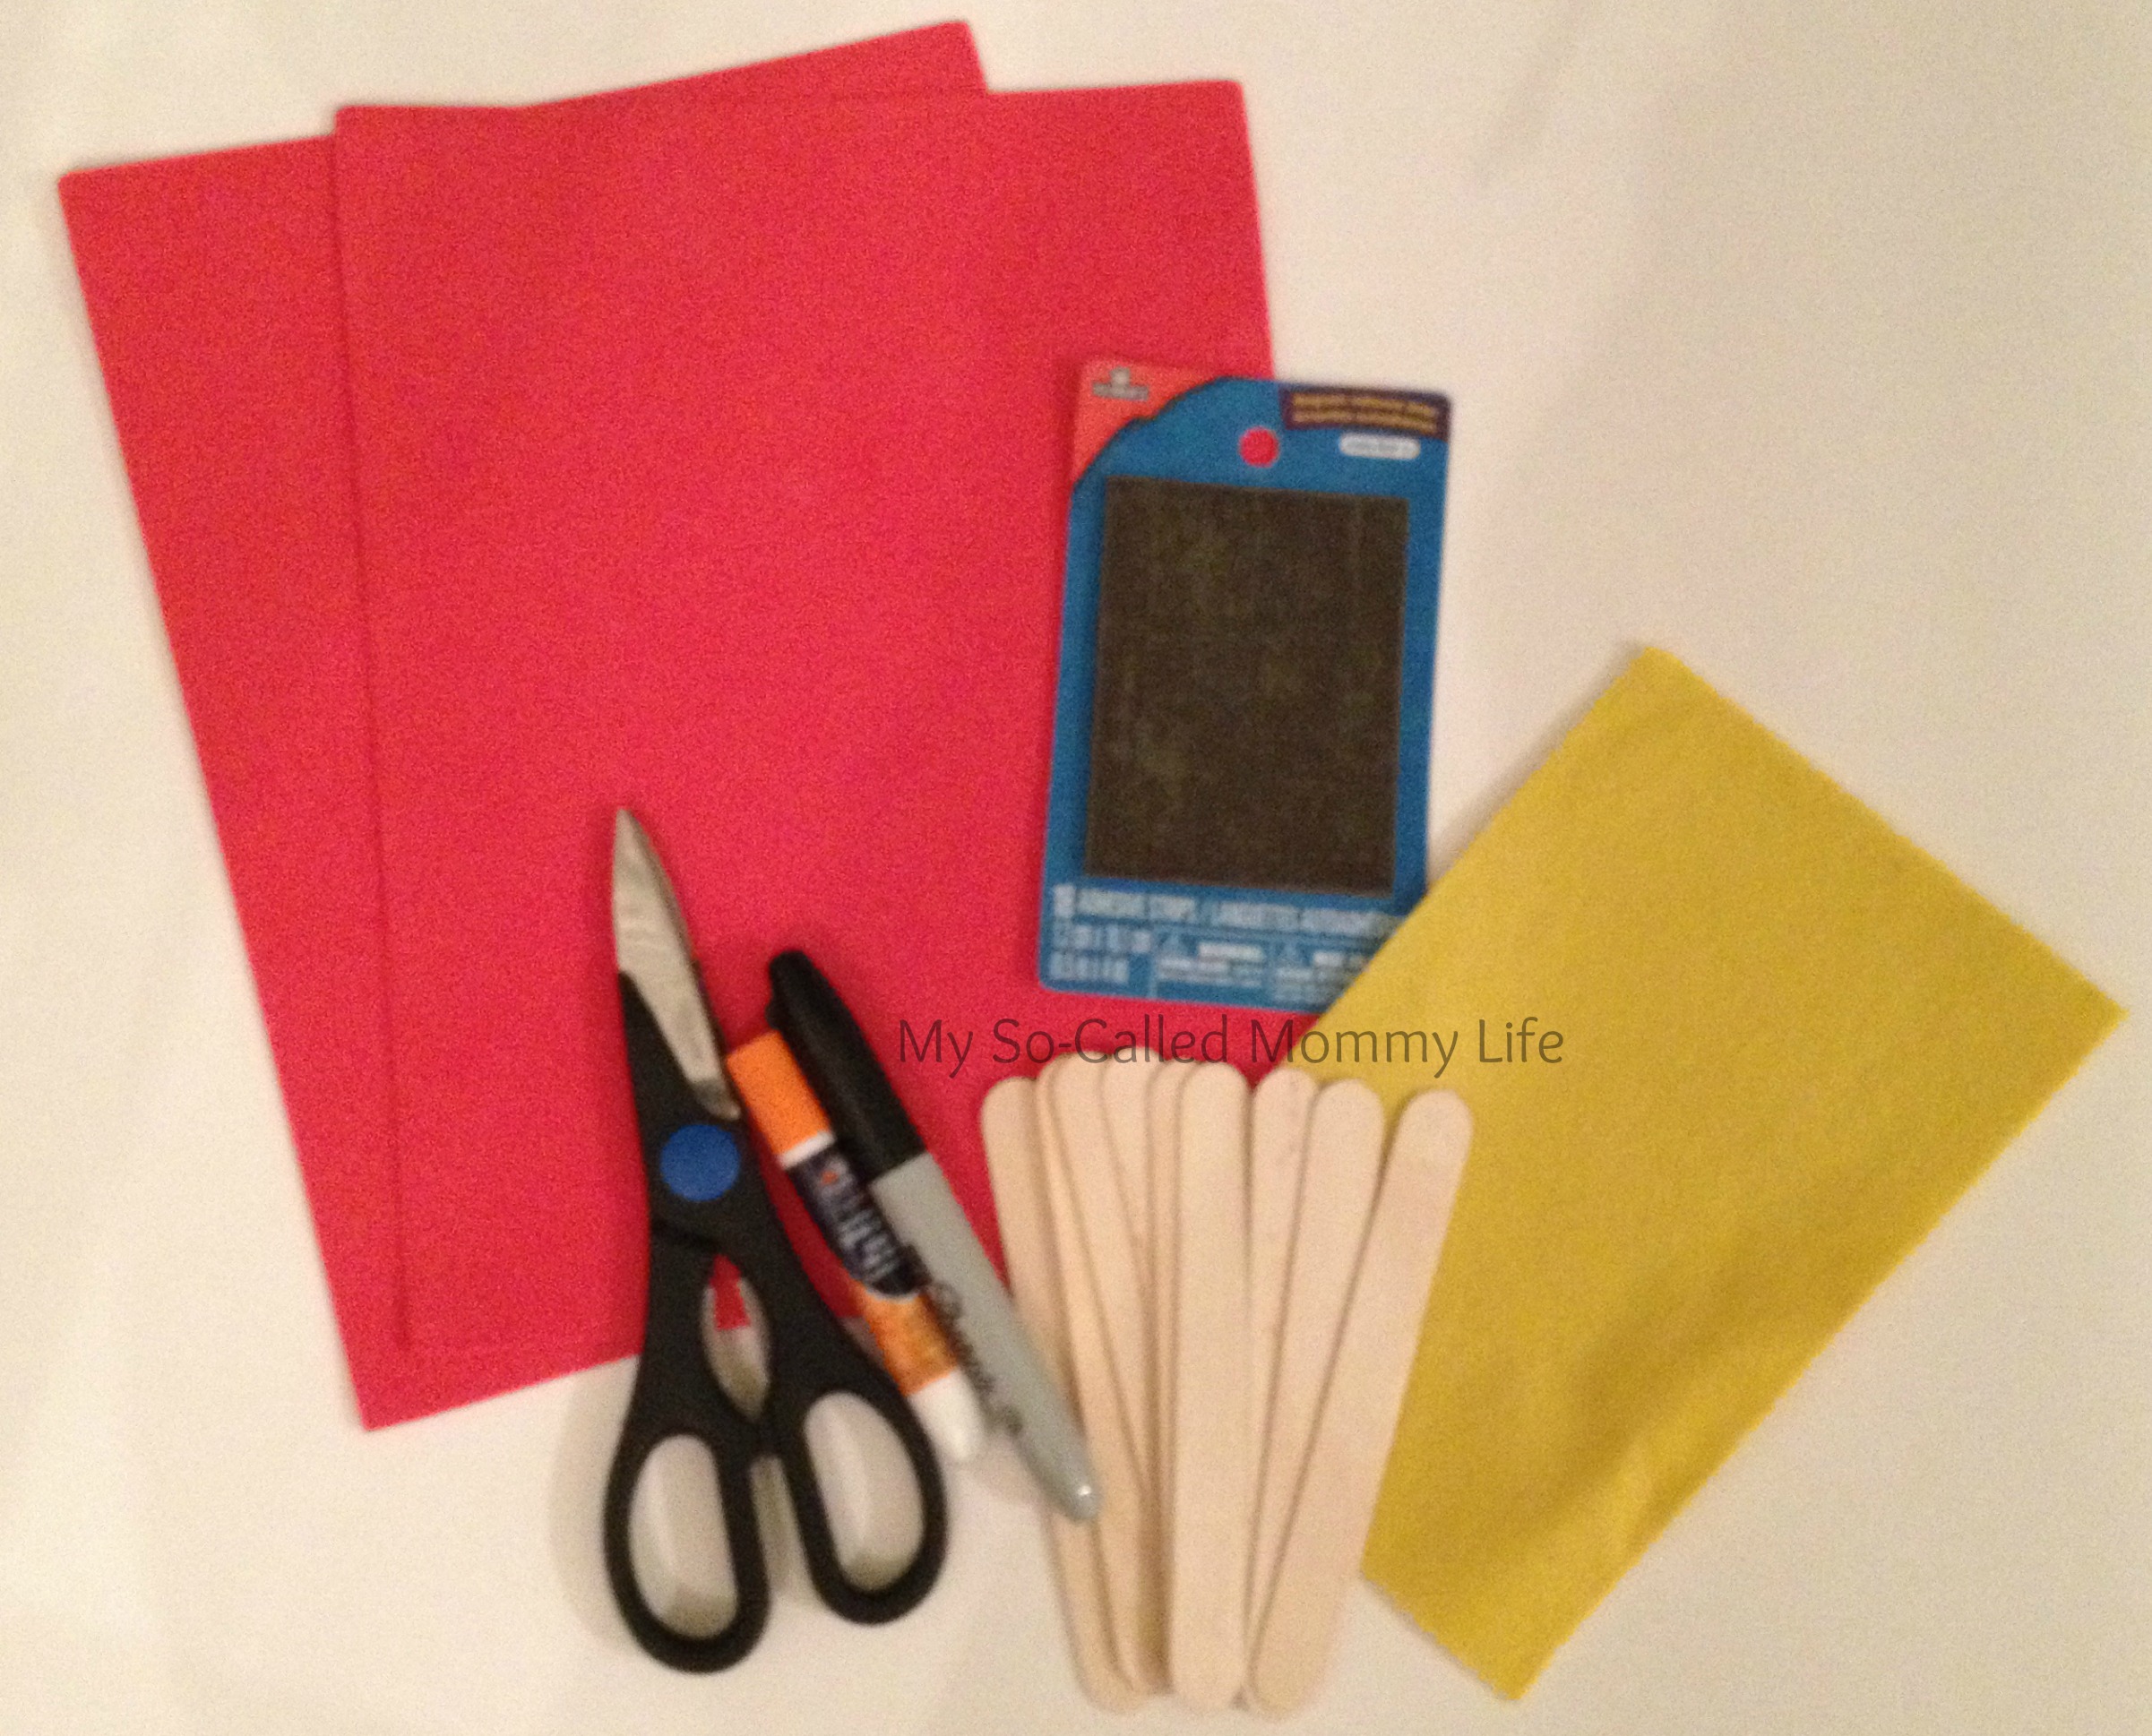
1-2 foam sheets depending on size. I used 1 9×12 sheet
Peel and stick magnets
Yellow felt
9 jumbo craft sticks or tongue depressors
black permanent marker
craft glue
scissors
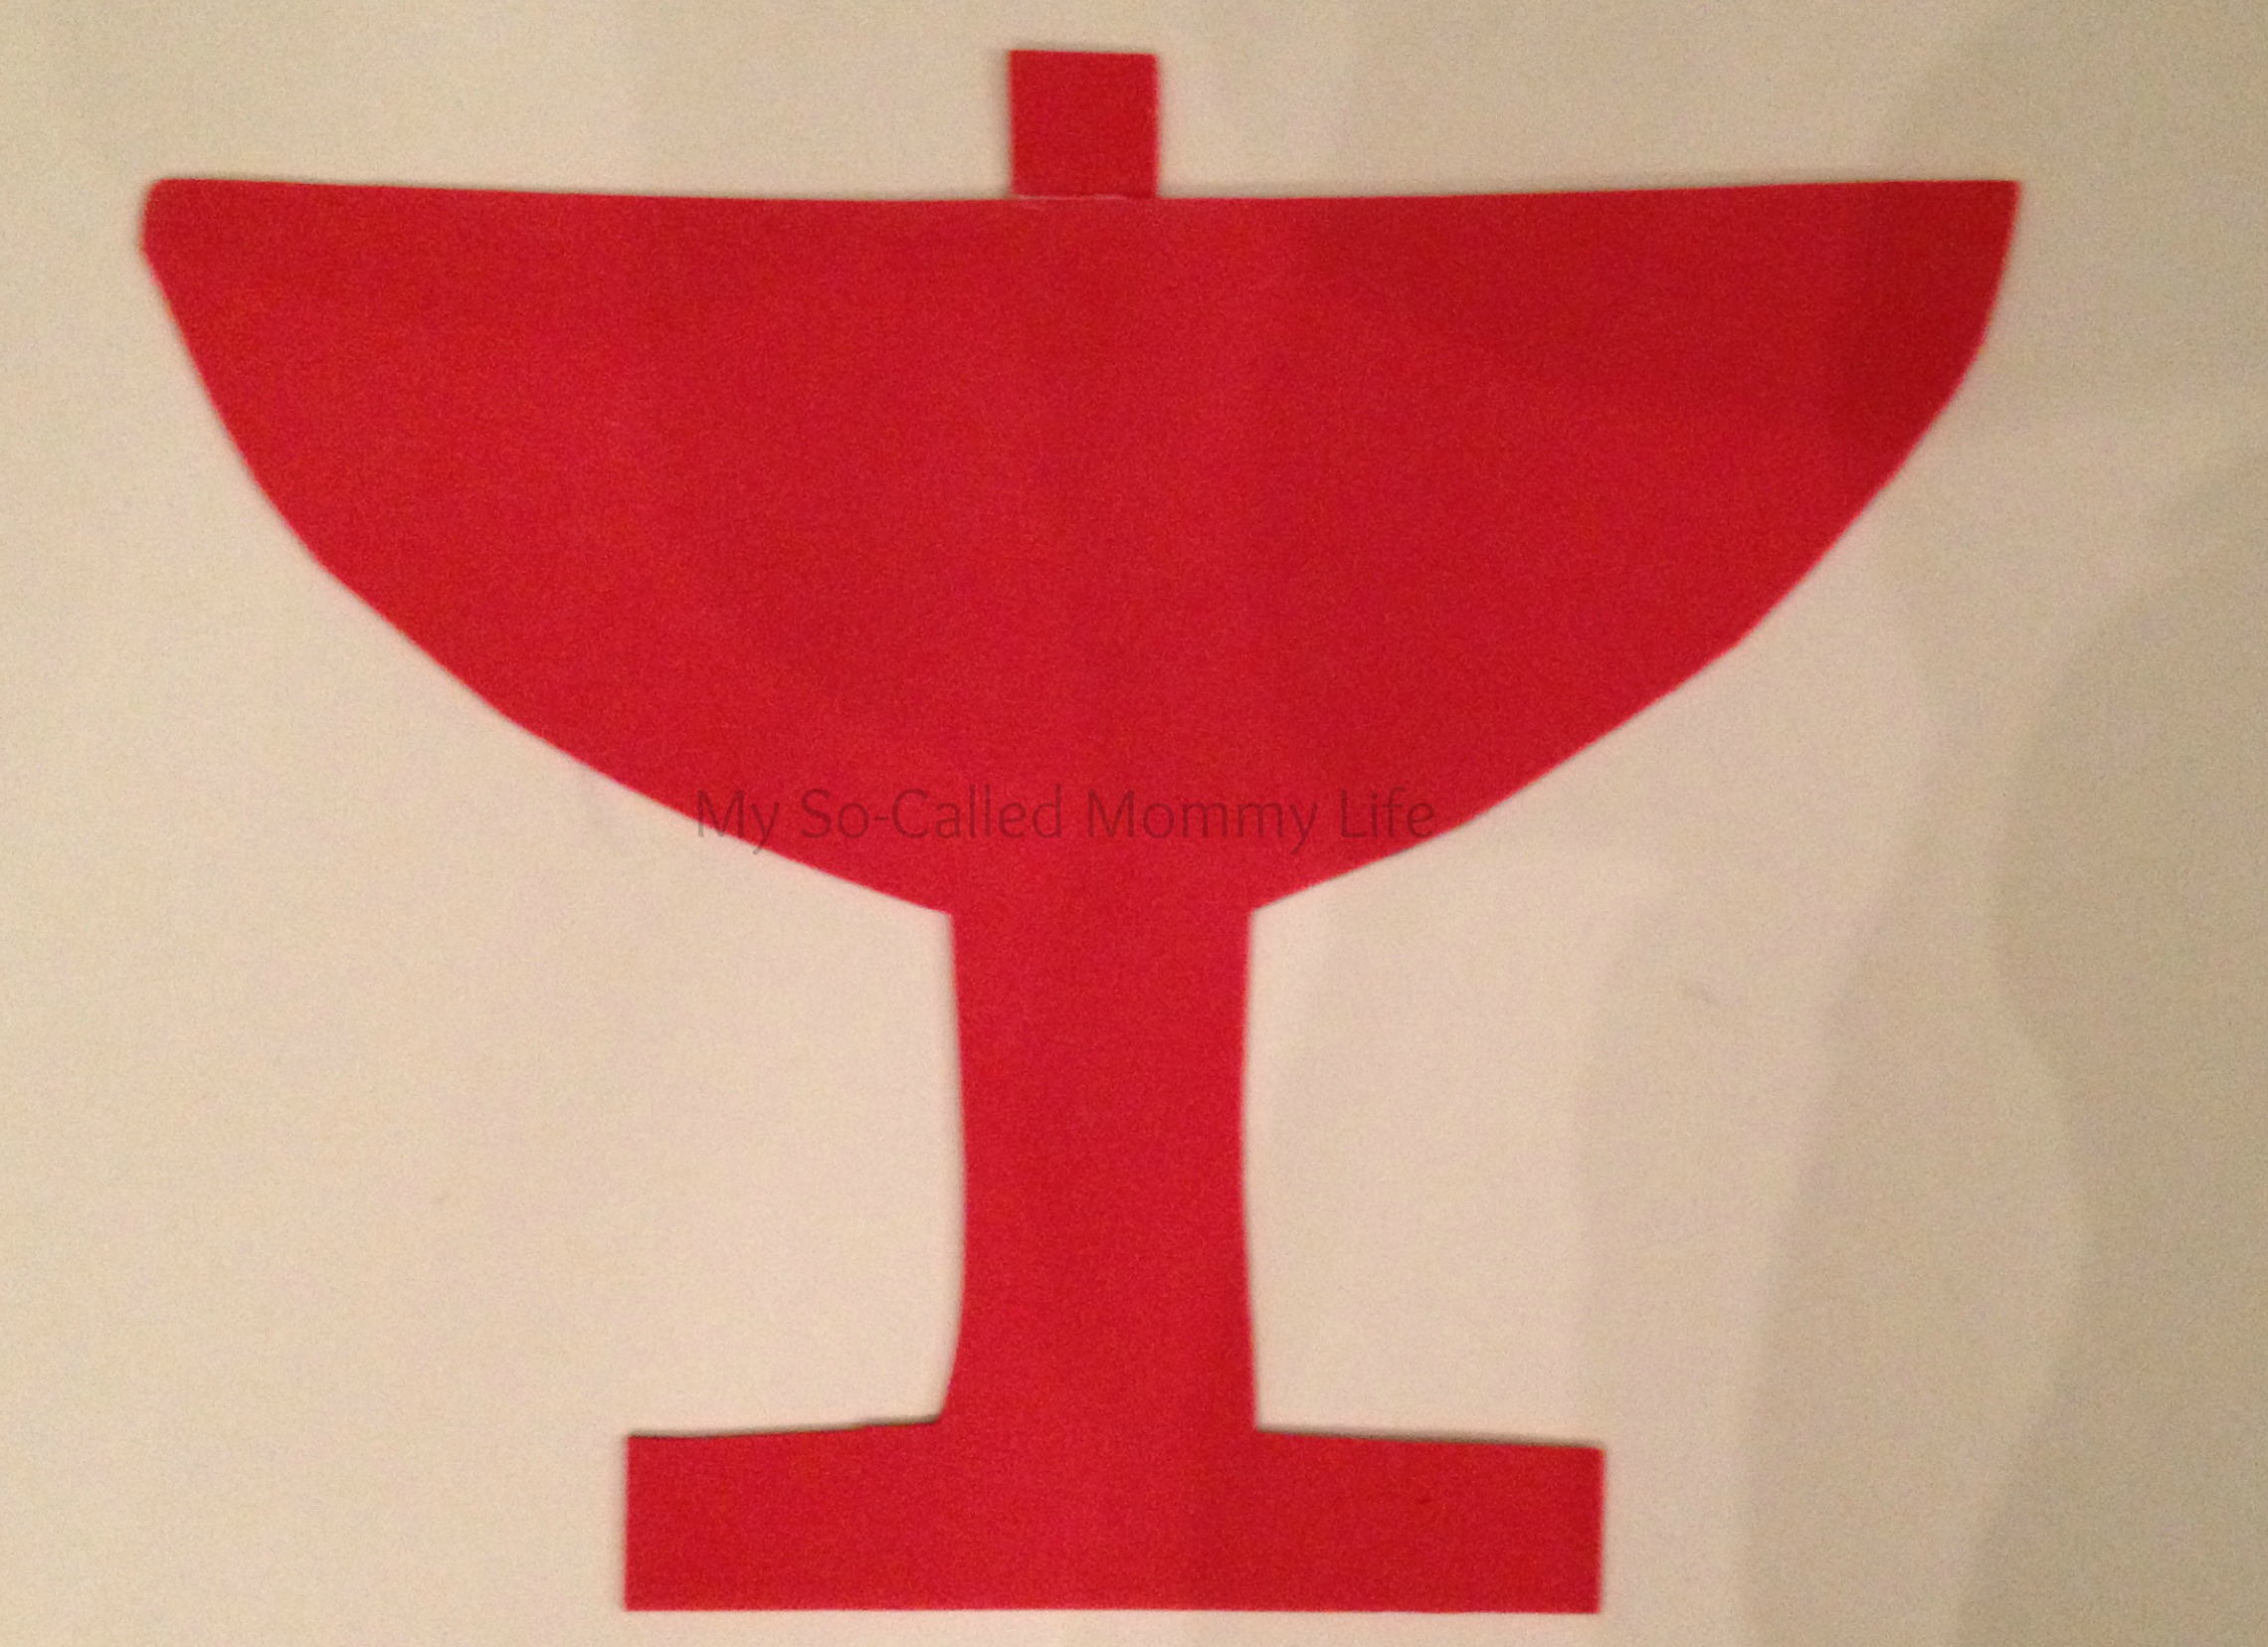
1. Draw the shape of a menorah on one side of the foam sheet. I free-handed the shape hence the fabulous imperfections 🙂
2. From the left over piece of foam I cut out a small rectangle and glued it on in the middle of the menorah so the Shamash is raised.
3. Cut out 9 “flames” from the yellow felt and glue them onto the front of the craft sticks
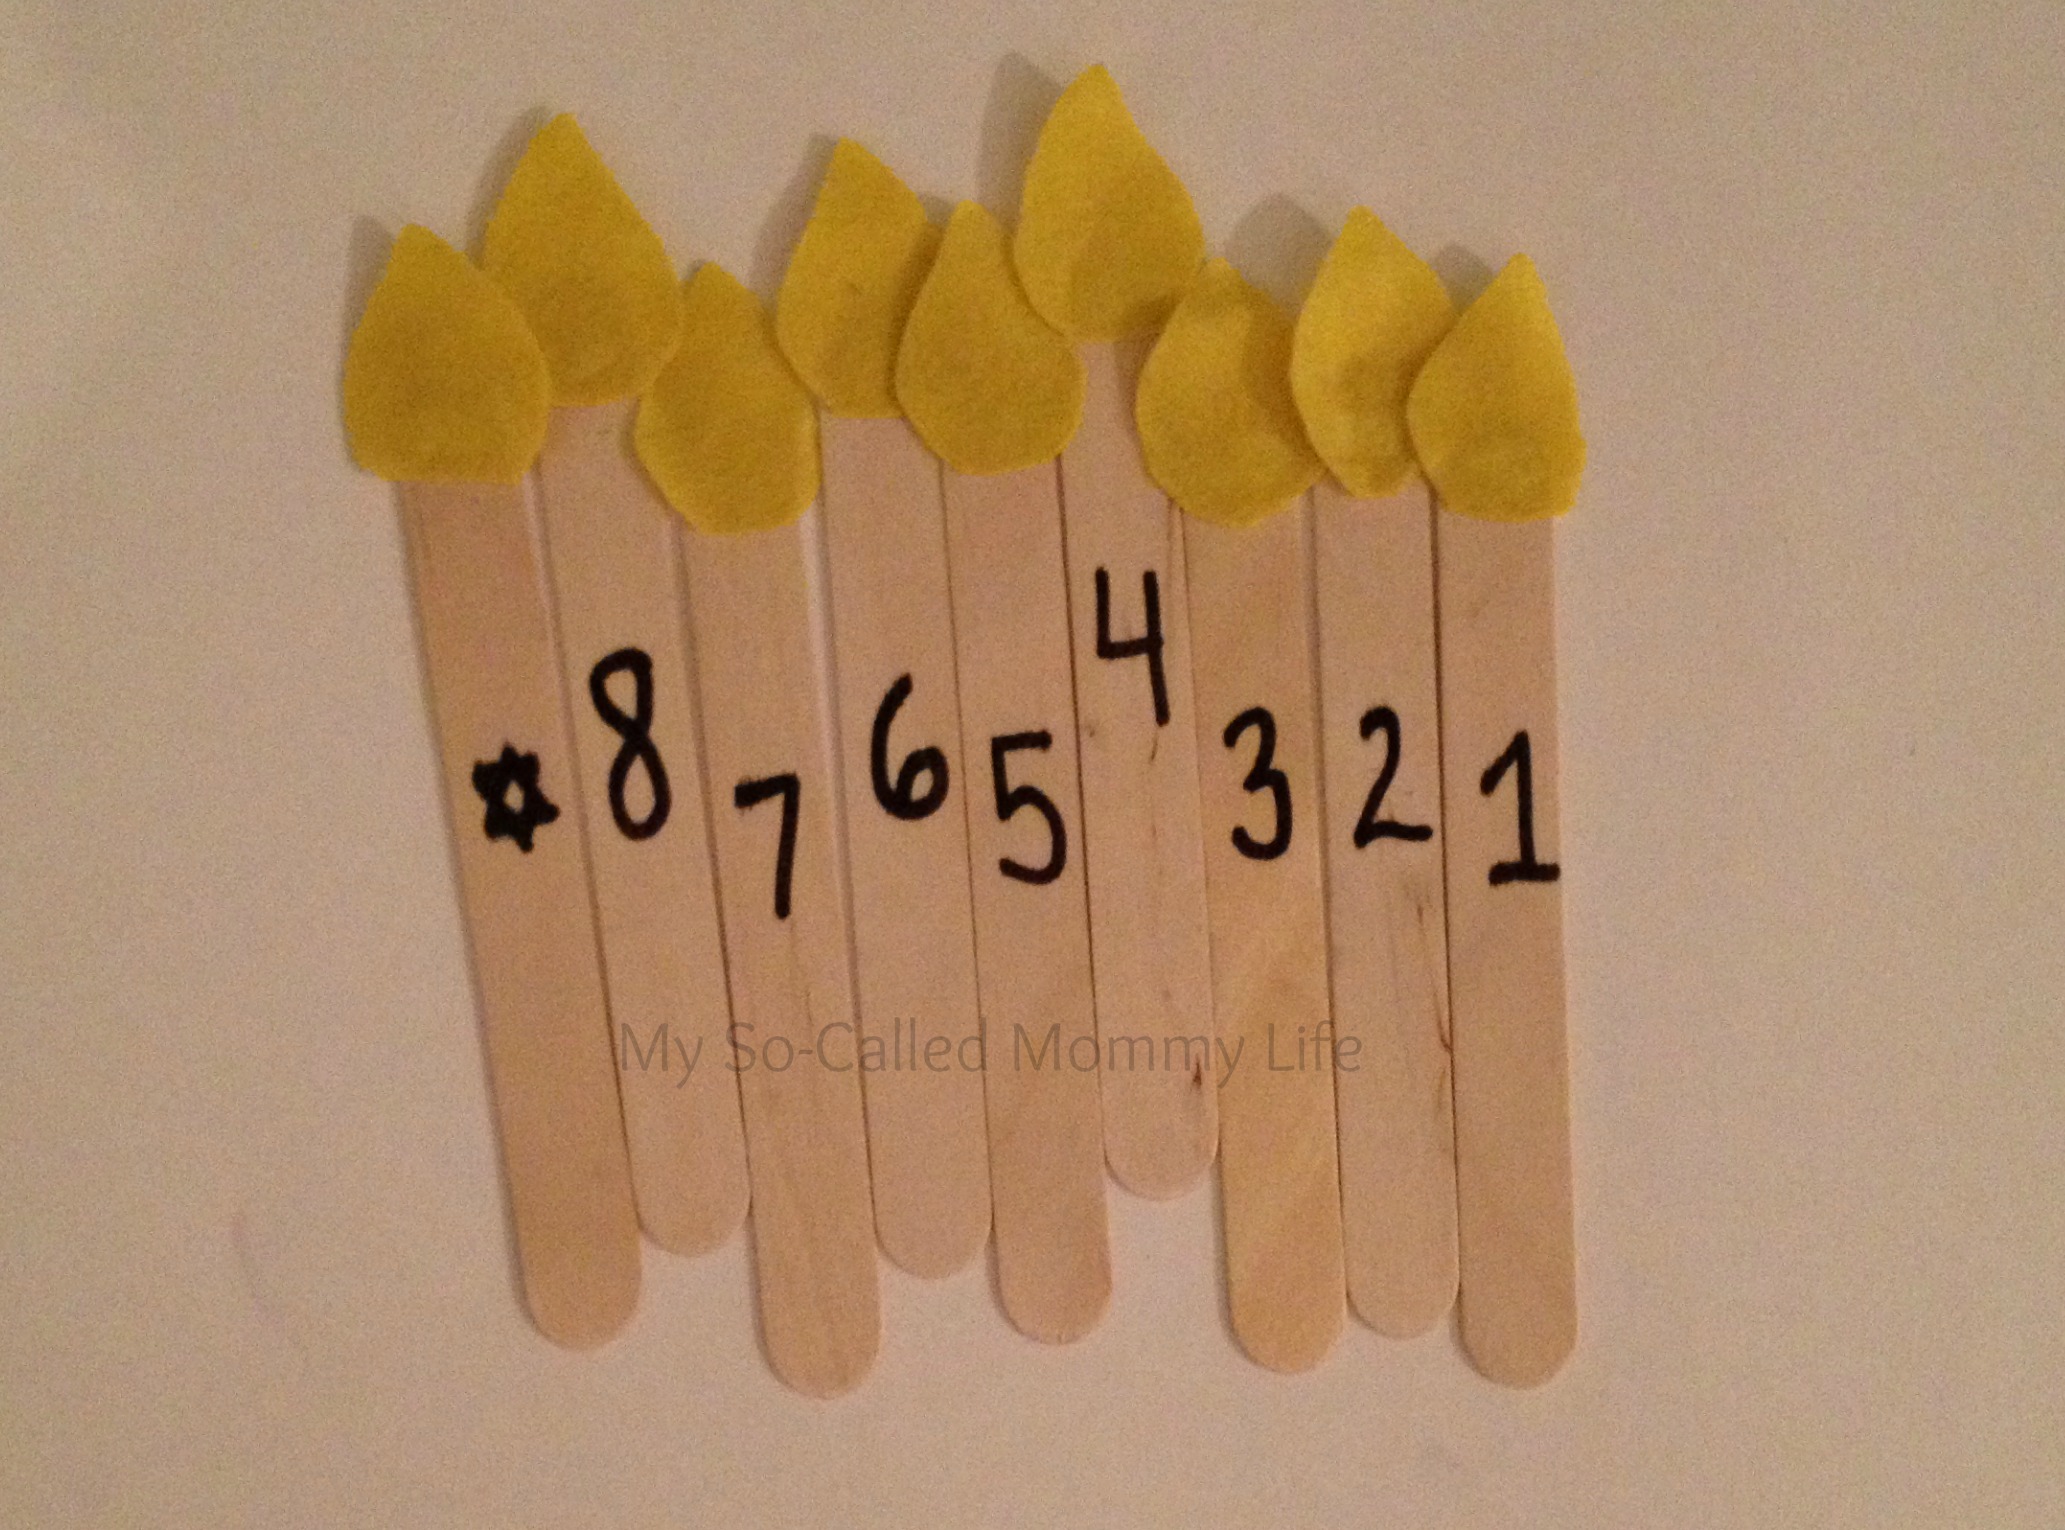
4. Number the craft sticks 1-8. I put a star on the stick that is the Shamash
5. Peel and stick the magnets onto the back of the craft sticks and the menorah. I prefer peel and stick solely for ease of use! No glue is needed.
6. Place the menorah on the fridge and enjoy during the 8 days of Chanukah!! Each day add the new candle and let your little ones “light” their menorah.
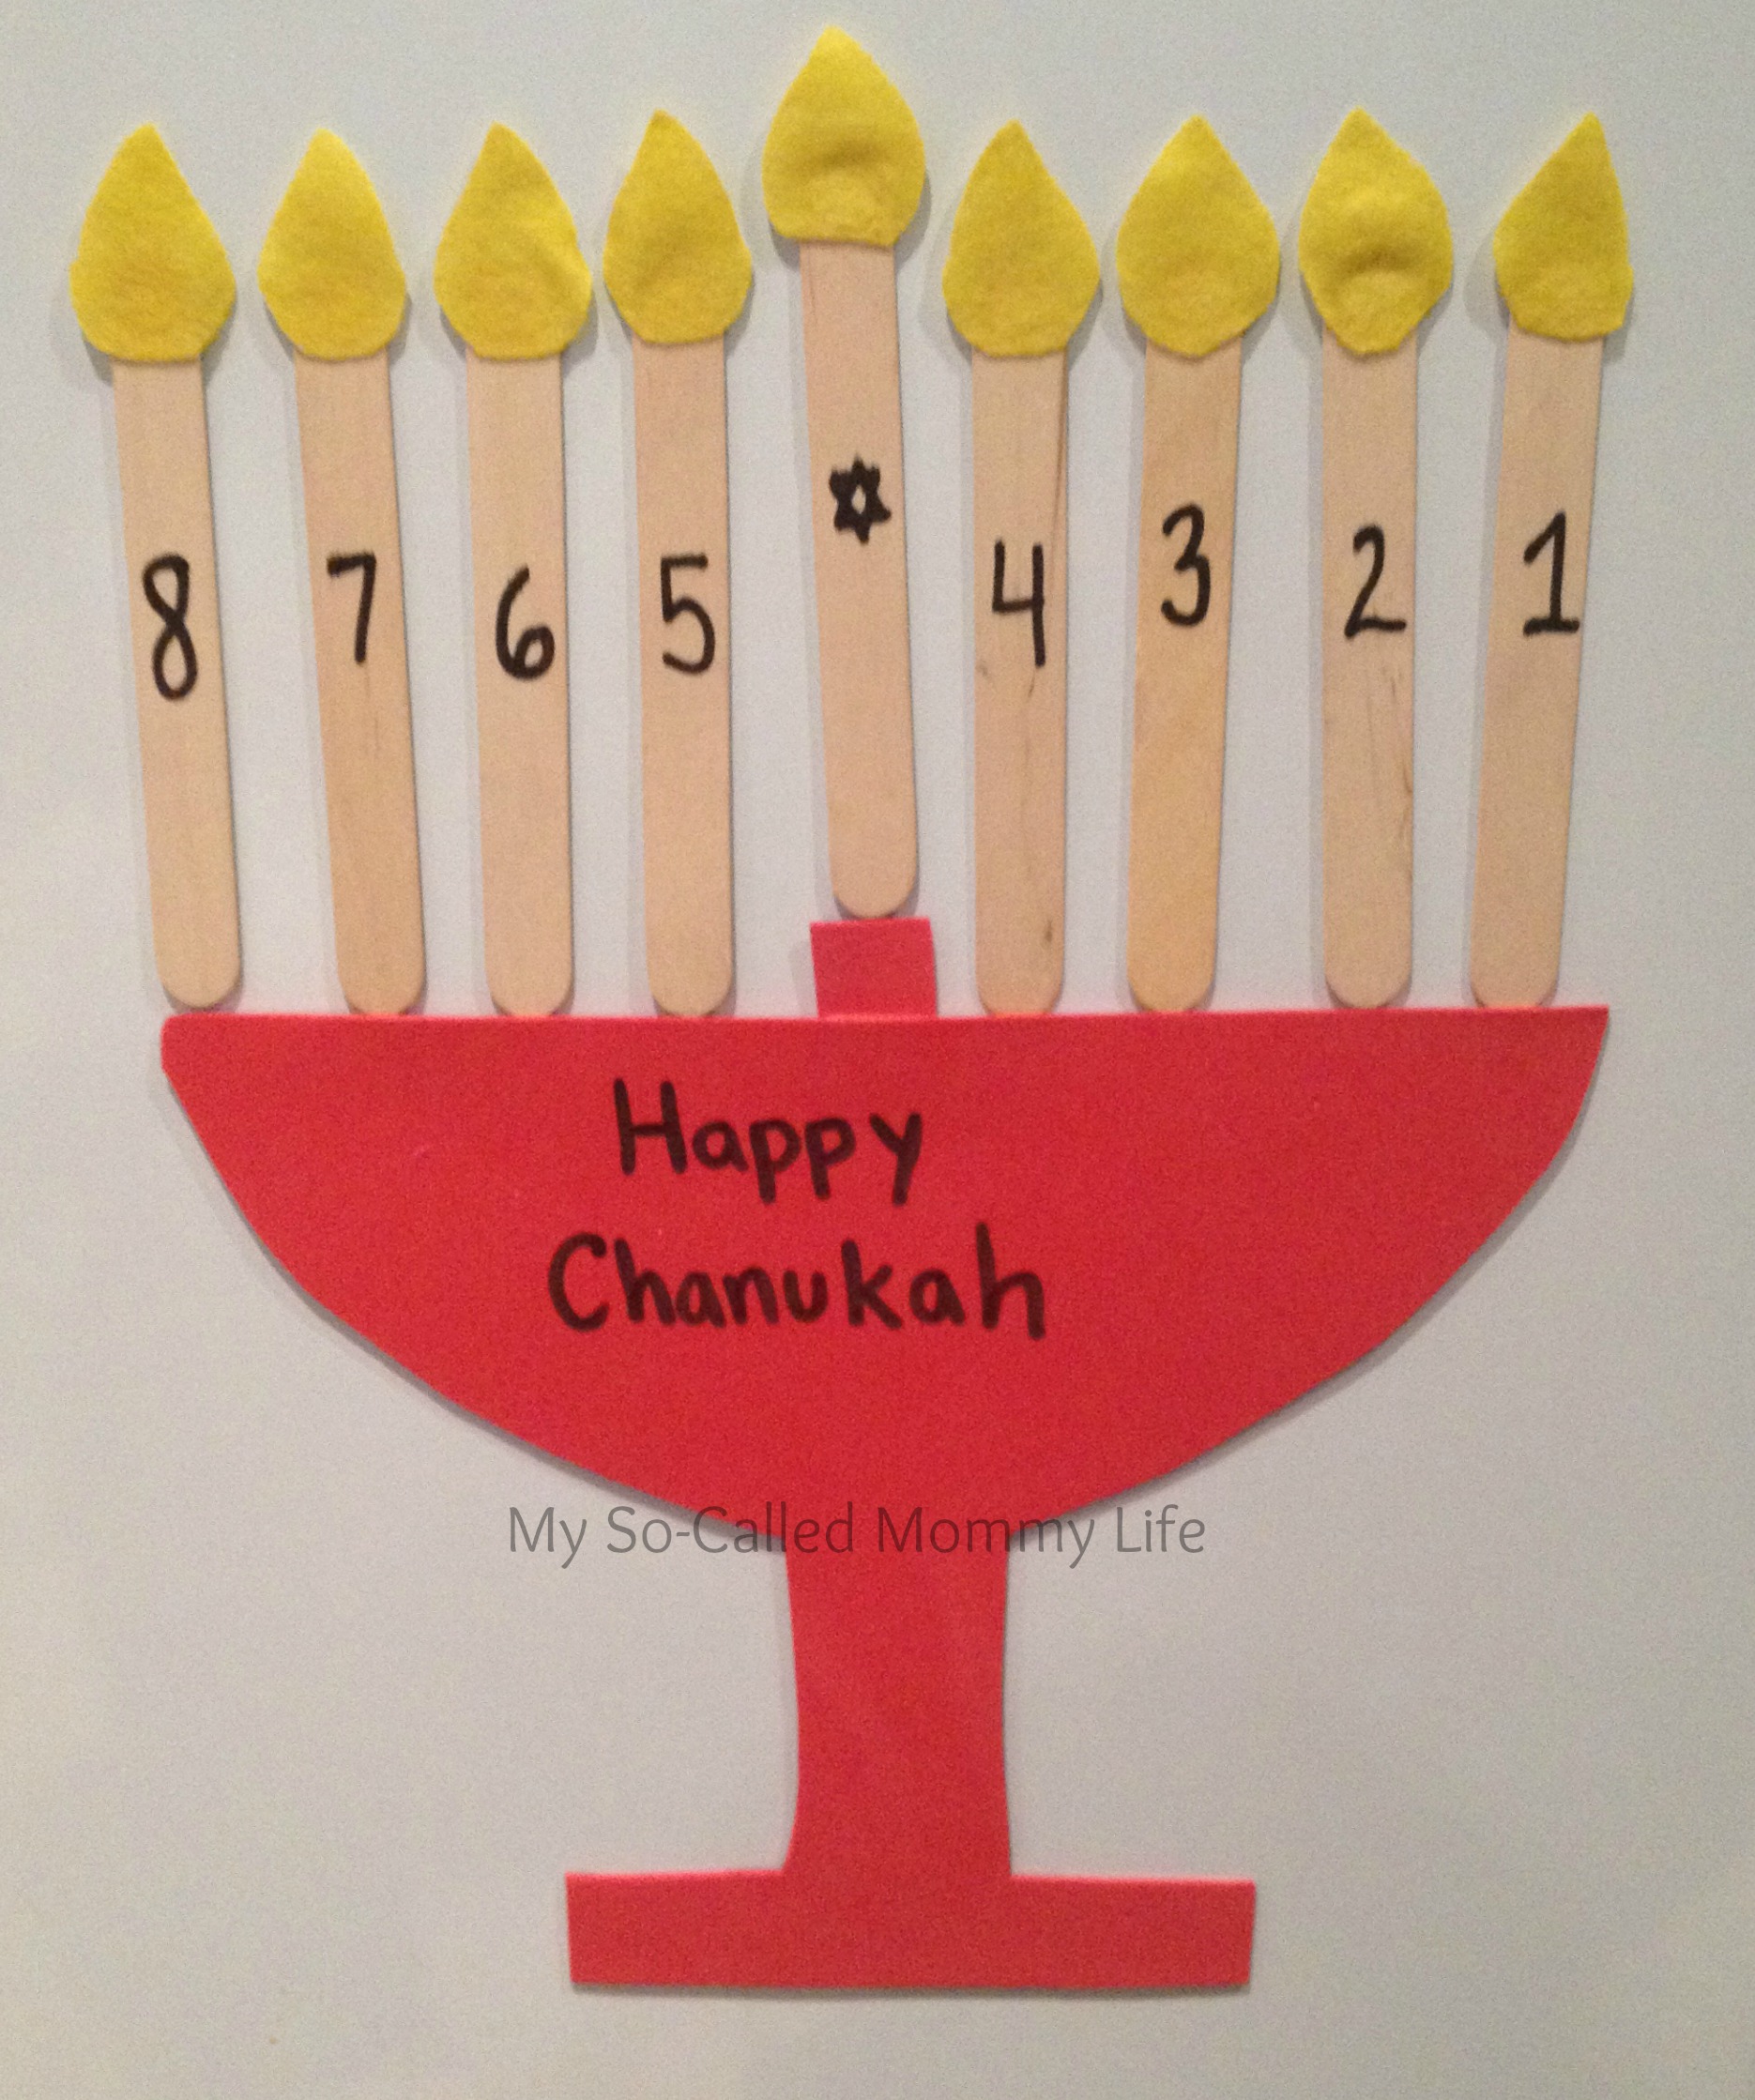


This is a super cute activity for little ones!
Thanks for sharing the “DIY: Magnetic Menorah” with your readers. You have made this craft look alot easier than what I thought it would be. Thank you.
Thanks Alexa! My daughter loves her counting Menorah.
what a great craft for young ones!!
Thanks Dawn!